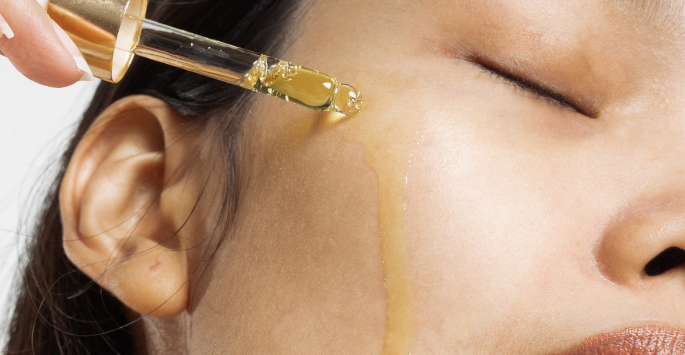
Yes! But why (and how) you layer is a precise art that many of us get wrong. Layering your products the right way not only keeps you from wasting money and product—it also helps them work to their maximum potency. Here's how to layer products perfectly each morning.
Step 1: Cleanse
Cleansing is step one of any skincare routine. Just make sure you get the right cleanser for your skin. We talk about how to pick out the right cleanser for yourself in this blog, and you don't need to break the bank for this step. Just make sure you aren't putting irritating ingredients on your skin, and remember to cleanse in the morning and evening.
Step 2: Toner (maybe)
Most people no longer take this step because of the ongoing belief that toners are harsh and strip your skin too much. While there are some toners out there now that are gentle, it's still not a popular part of some skincare routines. One of the reasons toner was introduced was to restore pH to your skin after cleansing, but if you use a cleanser that doesn't disrupt your skin's pH, you shouldn't need a toner. However, if you do use one, this would be the time to use it.
Step 3: Antioxidant Serum
Now is the time for your antioxidants, and the most common ones used are vitamin C and E. Not only do they guard your skin against damage from free radicals, they can improve texture, firmness, and brightness. Look for high concentrations of ingredients like this, as well as green tea or resveratrol. Our personal favorite (yes, we're biased) is Vitamin C, E & Ferulic Acid.
Step 4: Spot Treatment
Got a blemish? Now is the time to focus on it (if you don't have blemishes, you can skip to step 5). Spot treatments are typically aggressive formulas, so abide by their name and don't apply them to any other areas besides the spot you're trying to treat. Acne Control Serum is a good one, or you can book a facial to have a pro extract it or inject it with kenalog. Or you can allow nature to run its course and allow the blemish to go away over time. If you go that route, just be gentle while cleansing or exfoliating so you don't end up with a scar.
Step 5: Eye Cream
Depending on the issue you've got with your eyes, you can select an eye cream based off what they correct. But for the most part, eye creams are all intended to smooth and tighten so if you have crow's feet or bags you'll be good with any reputable formula. If you also have dark circles or want to reduce moderately noticeable wrinkles, throw in a retinol eye cream to boost the effects of this step, but if you're just looking for something general, try this one.
Step 6: Moisturize
Not only does this step replenish some much needed moisture back into your skin, it also locks in the products and actives you've already applied. Depending on your skin type (richer moisturizers for dry, mature skin or lighter ones like hyaluronic acid for oily, acne-prone skin) make sure to find something that's effective and compatible with your skin.
Step 7: Sunscreen
Before stepping out the door (and before applying your makeup, too), don't forget the SPF! We recommend physical sunscreens like this because they provide the best coverage, and it's gentle enough for daily use. If you have oily skin and you want to combine moisturizer, SPF, and some light coverage all in one step, this tinted sunscreen is perfect for you.
Need some more skincare recommendations? Schedule an appointment with Dr. Supriya Tomar today for a skincare consultation by calling our office at 561-805-9399 or emailing us at info@supriyamd.co
Want to check out some of the products mentioned in our blog? Get 10% off your first order below.


